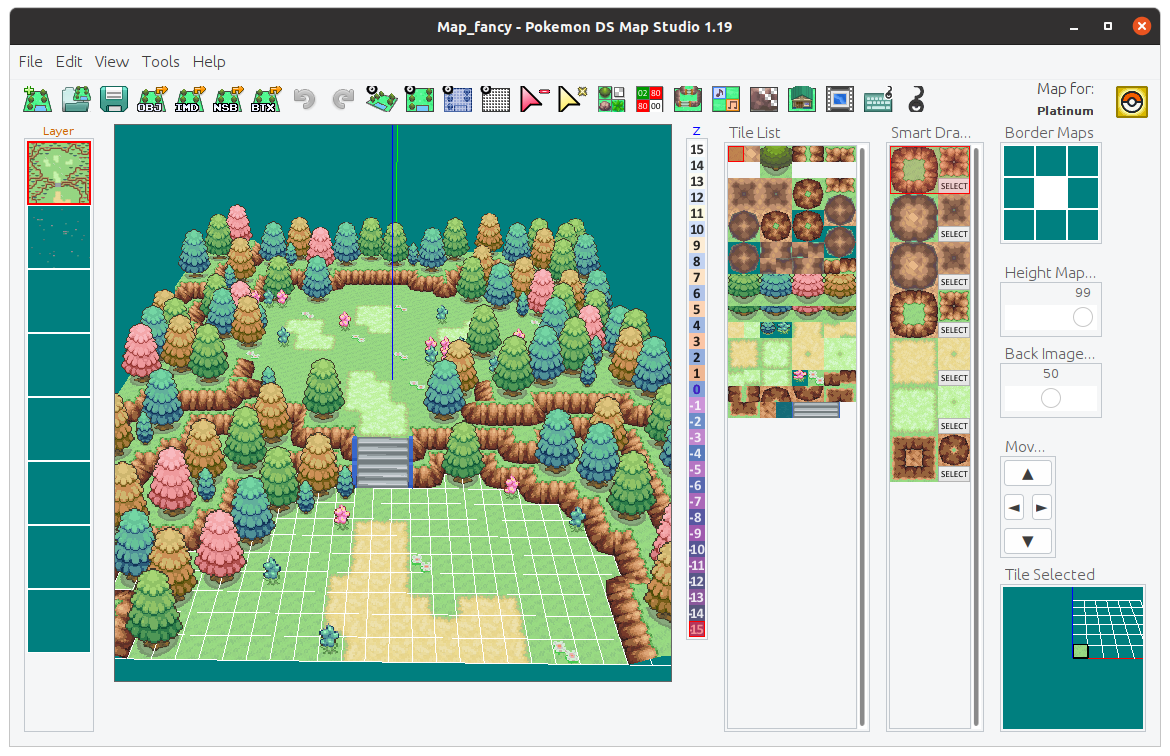
This wonderful tool from Trifindo is a must-have for DS hackers. This is the first all-in-one tool for easy map editing.
Check the latest releases on GitHub.
| OS | Windows, macOS, Linux |
| Author | Trifindo |
| Works with | D P Pt HG SS BW B2W2 |
Here is Jay’s tutorial about this tool. You may also check his channel.
Following there’s a pretty quick and basic tutorial.
When you open the program the first time, you see a green form in the center and no loaded tiles in the right. To start creating a map, you first have to load the tiles. You can do that by going to File->Import Tileset and selecting the bundled tilesets that come with the program.
Alternatively, you can just go to File->New Map and select the appropriate preset.
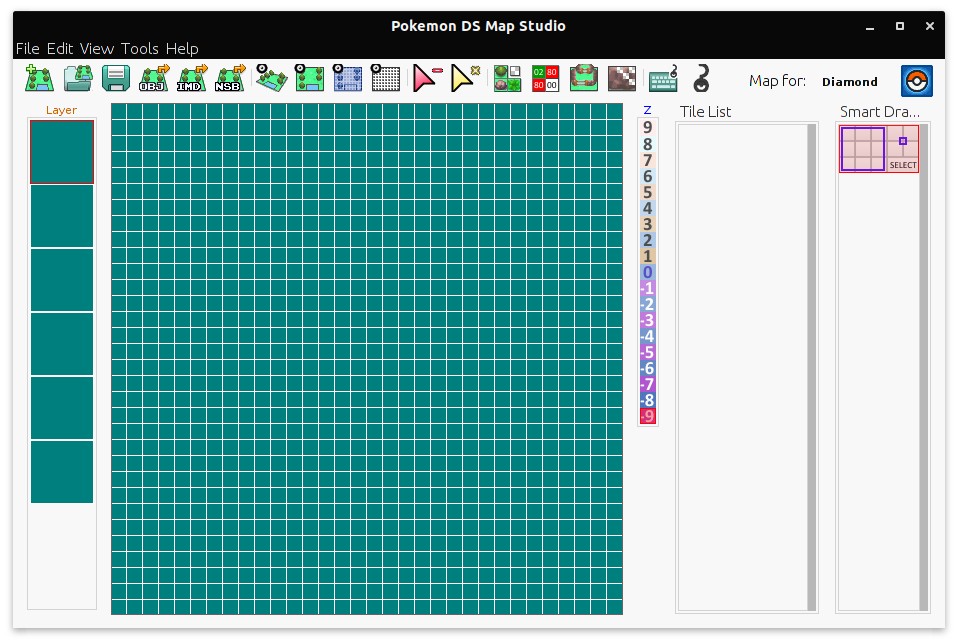
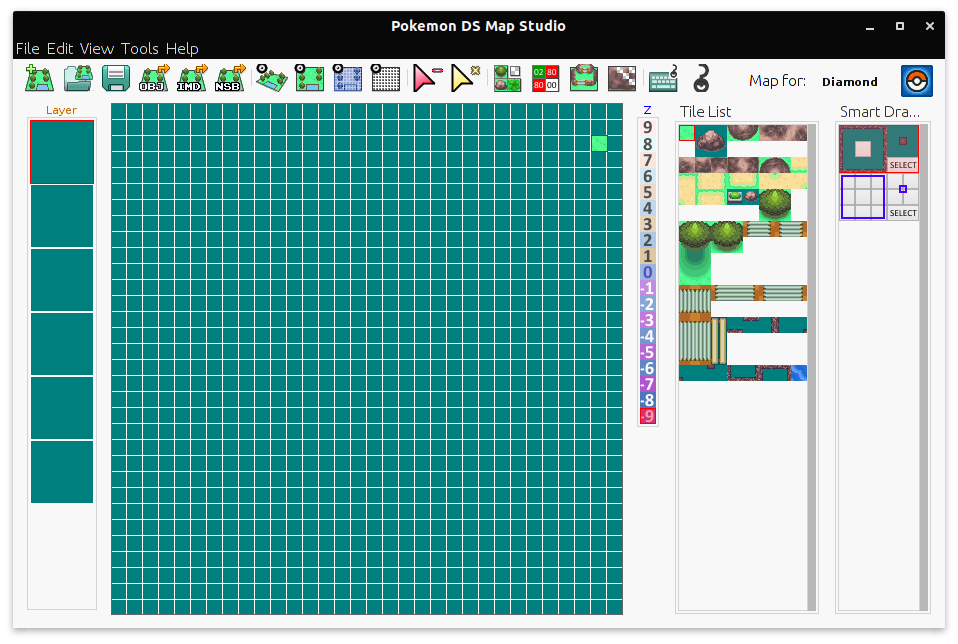
There are some nice shortcuts available to quickly start drawing, like the mouse wheel. If you look in the “Tile List” palette at the right, you can see that the default tile is the grass. By clicking in the green canvas with the mouse wheel, we fill everything with the grass. You can always change the current viewing mode by using the space bar, or by using the toolbar.
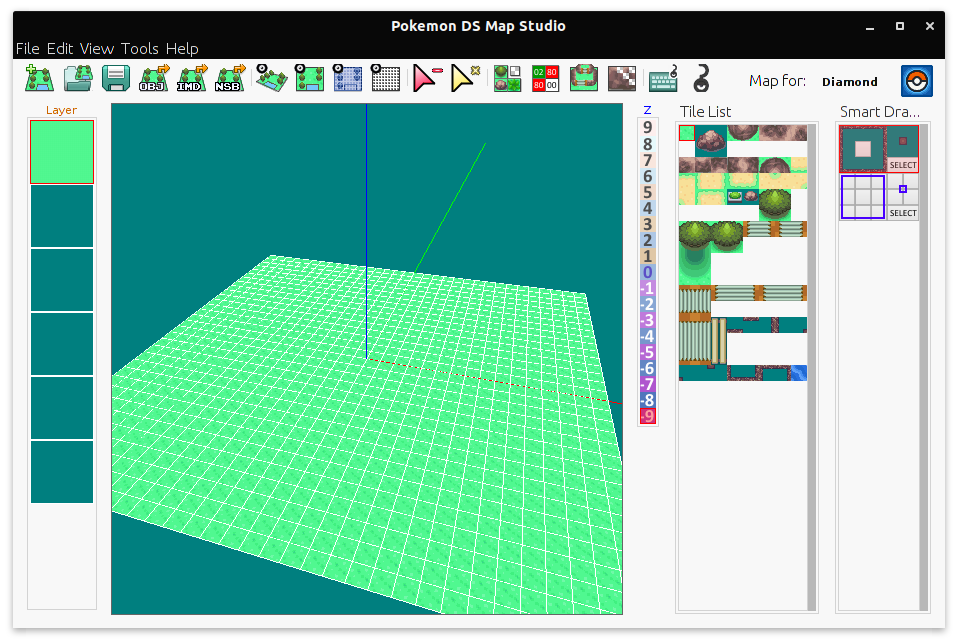
The editing is pretty similar to Advance Map, with the difference that we can have different tiles of different dimensions.
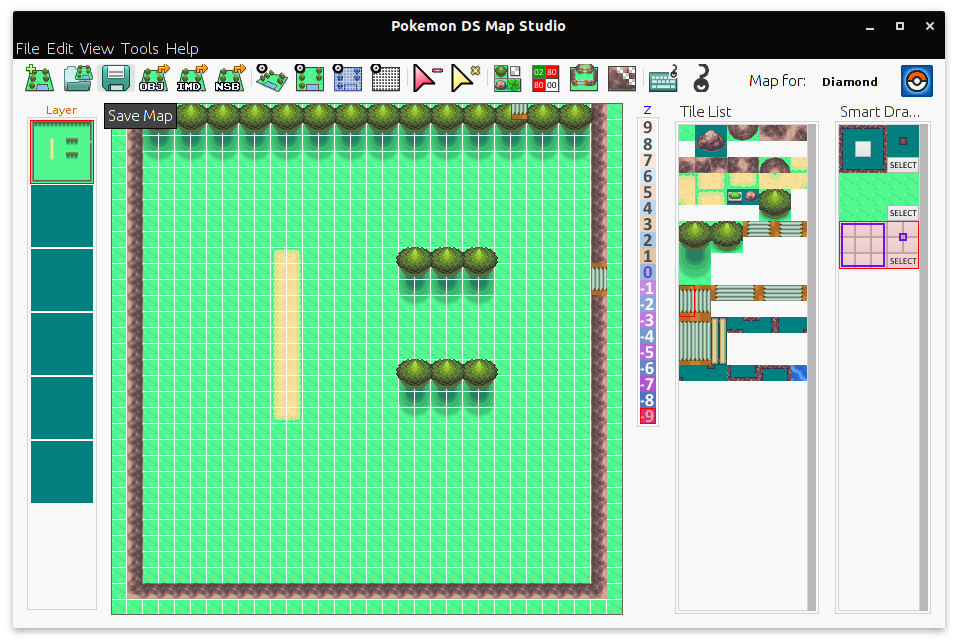
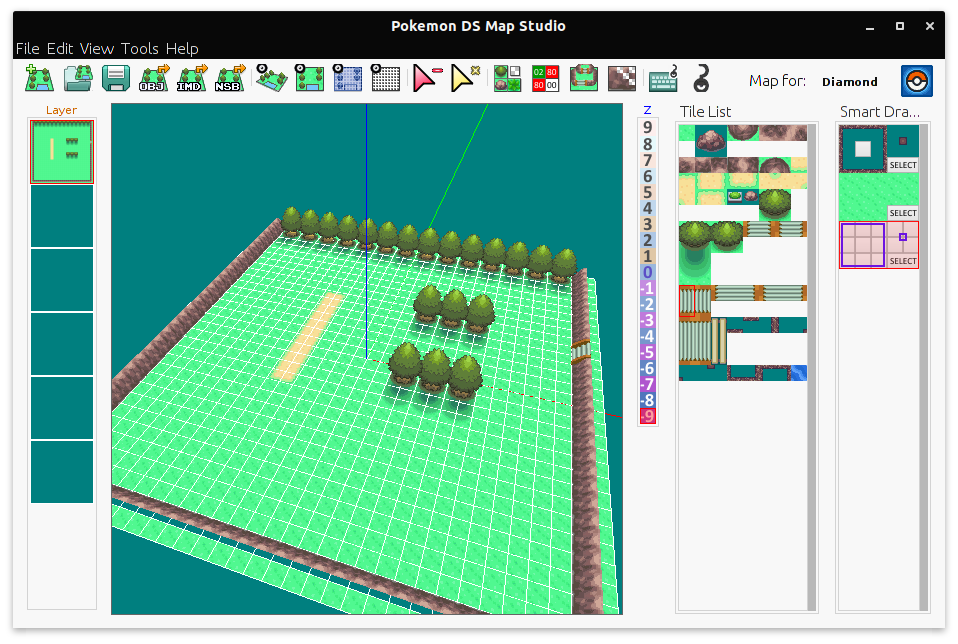
We can save the map for later editing in the File menu (note that the map is saved in a Pokemon DS Map Studio compatible format, it’s not ready for SDSME usage).
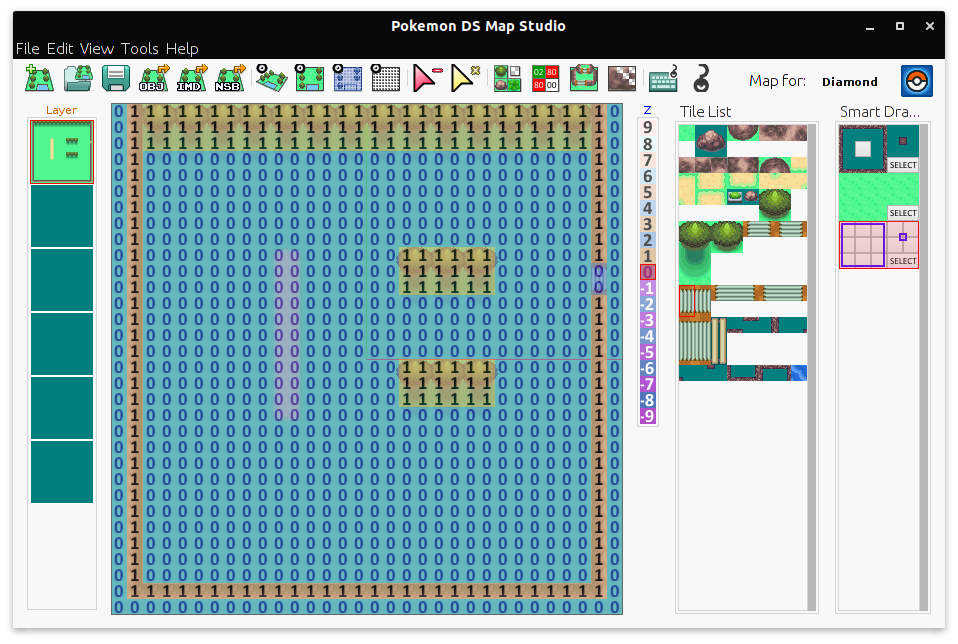
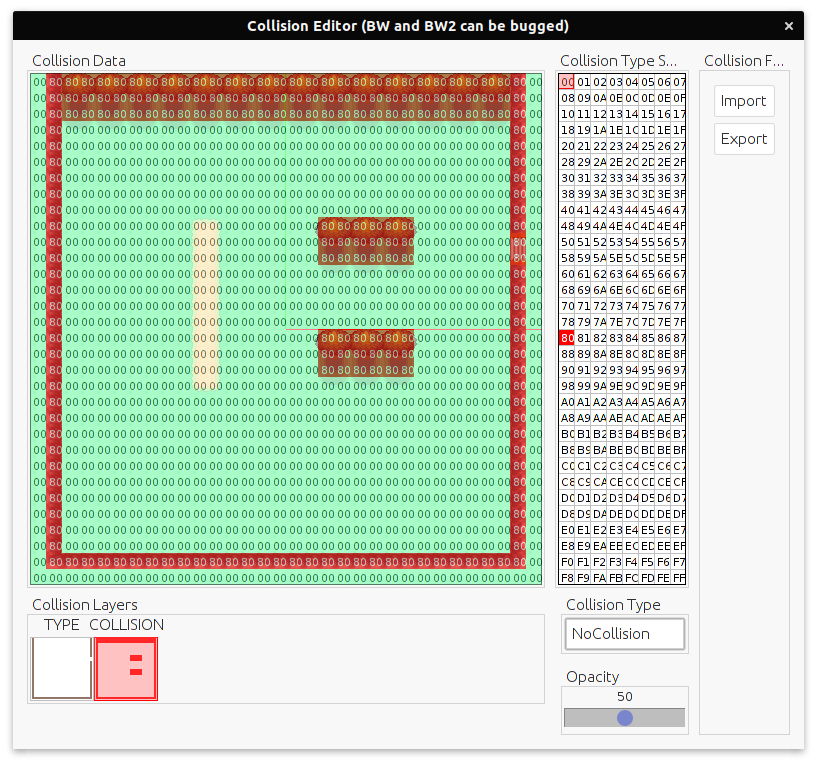
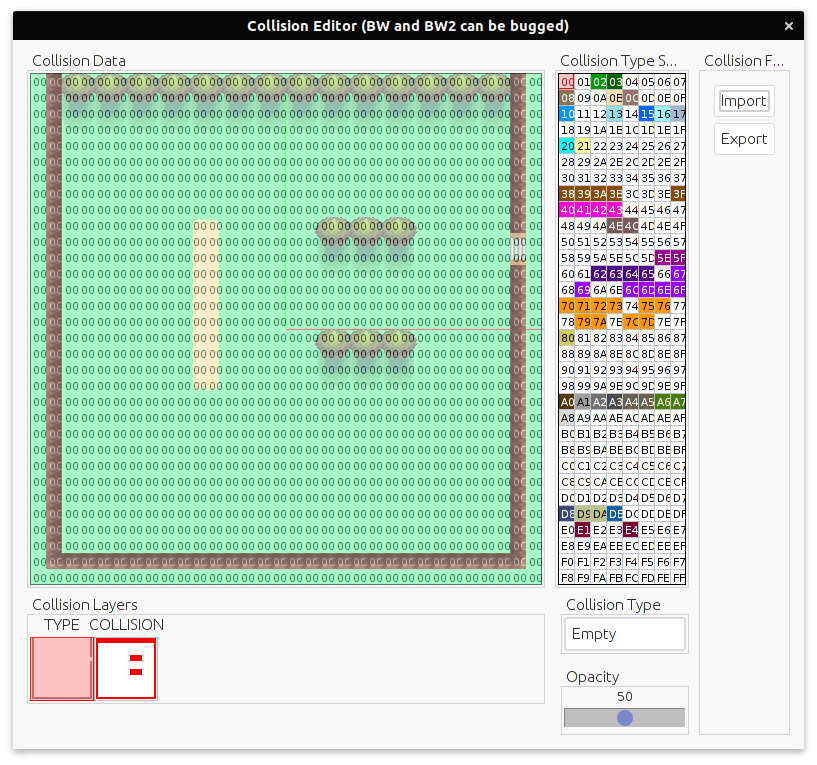
Now that we have created the map, we can start setting the Z values, or the height of the area (please note that this setting is only visual, it has no effects on the movements, for that you have to edit the BDHC values). After that, we can edit the collision in the Collision editor window. This is the similar to Advance Map, the difference is the meaning of the values and the fact that we have two layers. We currently don’t know all the values’ meaning, and by the way you can see the meaning in the box in the bottom.
After these steps, we can export the map in OBJ for importing in SDSME. After that the procedure is the always the same.